简单制作一个NPM包并发布到www.npmjs.com
1. 登录NPM官网(https://www.npmjs.com/)并注册账号,已有账号可跳过
2. 准备类库项目
新建项目文件夹 _garson-test
cmd命令进入文件夹,并执行 npm init 命令初始化项目
npm init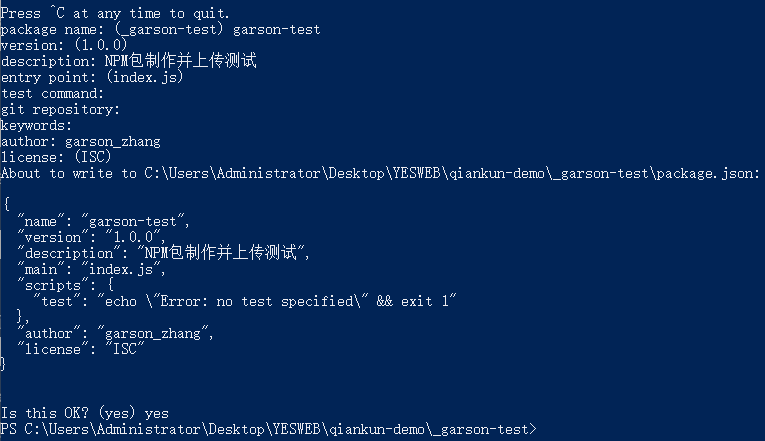
添加webpack引用,用于打包命令
cnpm install -D webpack@5.32.0 webpack-cli@4.6.0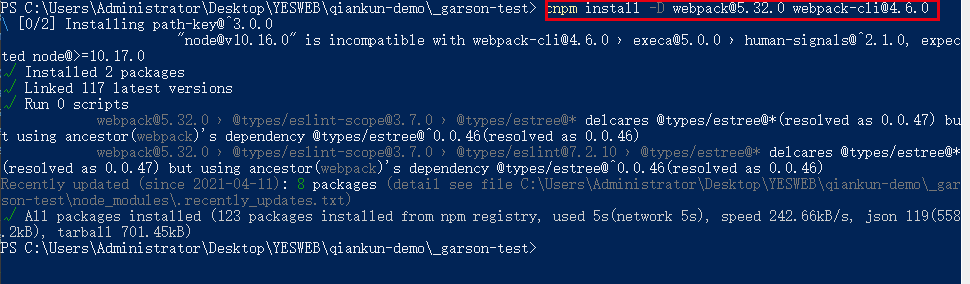
修改 package.json 文件
scripts中添加webpack打包命令
webpack打包命令: "start":"webpack"
上传到NPM命令 "upload": "cd dist && npm publish"
"scripts": {
	"test": "echo \"Error: no test specified\" && exit 1",
	"build": "webpack",
	"upload": "cd dist && npm publish"
},
修改 main 值为 src/index.js 项目源码放入src目录中
"main": "src/index.js",添加 "files":["dist"] 配置只上传编译后的文件,dist目录,源码不会上传,
完整的 package.json 如下
{
  "name": "yesweb-libs",
  "version": "1.0.5006",
  "description": "yes快速开发框架web项目公共引用模块",
  "main": "./index.js",
  "scripts": {
    "test": "echo \"Error: no test specified\" && exit 1",
    "build": "webpack",
    "upload": "cd dist && npm publish"
  },
  "author": "garson_zhang",
  "license": "ISC",
  "dependencies": {
    "Promise": "^1.0.5",
    "axios": "^0.21.1",
    "throttle-debounce": "^3.0.1"
  },
  "devDependencies": {
    "babel-eslint": "^10.1.0",
    "copy-webpack-plugin": "^8.1.1",
    "eslint": "^6.7.2",
    "uglifyjs-webpack-plugin": "^2.2.0",
    "webpack": "^5.32.0",
    "webpack-cli": "^4.6.0"
  }
}
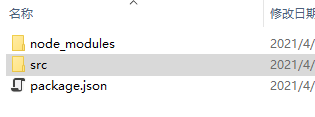
切换到项目文件夹,并新建src文件夹
src目录中新建一个 index.js 文件,内容如下
const test = {
	hello(){
		console.log('hello developer!')
	}
}
export { test }
项目目录中添加webpack配置文件 webpack.config.js
var path = require('path')
const UglifyJsPlugin = require('uglifyjs-webpack-plugin')
const CopyWebpackPlugin = require('copy-webpack-plugin')
var webpack = require('webpack')
module.exports = {
mode: 'production',
// mode: 'development',
// mode: 'none',
entry: {
index: './src/index.js',
'mixins/index': './src/mixins/index.js',
'utils/index': './src/utils/index.js',
},
output: {
path: path.resolve(__dirname, './dist'),
// publicPath: '/dist/',
filename: '[name].js',
library: 'laputarenderer',
libraryTarget: 'umd',
},
plugins: [
new CopyWebpackPlugin({
patterns: [{
from: path.resolve(__dirname, './package.json'), // 打包的静态资源目录地址
to: './', // 打包到dist下面的static
}],
}),
],
optimization: {
//与entry同级
minimizer: [
new UglifyJsPlugin(),
// new UglifyJsPlugin({
// include: /\.js$/,
// parallel: true,
// uglifyOptions: {
// compress: false,
// mangle: true,
// output: {
// comments: false,
// },
// },
// sourceMap: true,
// }),
],
},
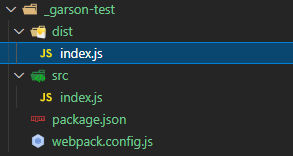
}执行 npm run start 可编译项目得到dist目录
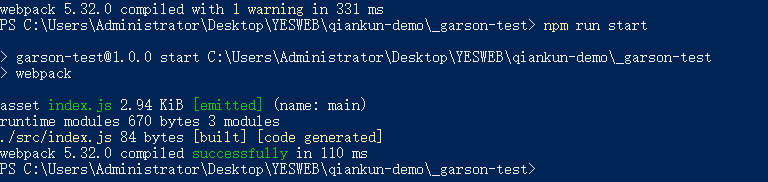
编译后dist目录中得到一个index.js文件:
3. 配置NPM信息
执行 npm login 登录npm账号信息(第一步中得到的账号和密码)

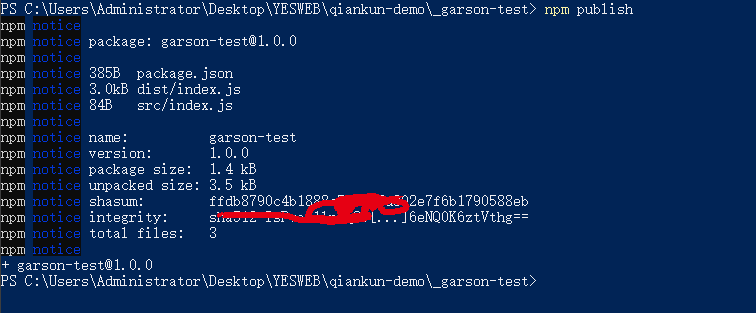
4. 发布NPM包
执行 npm publish 执发布dist目录到 https://www.npmjs.com/
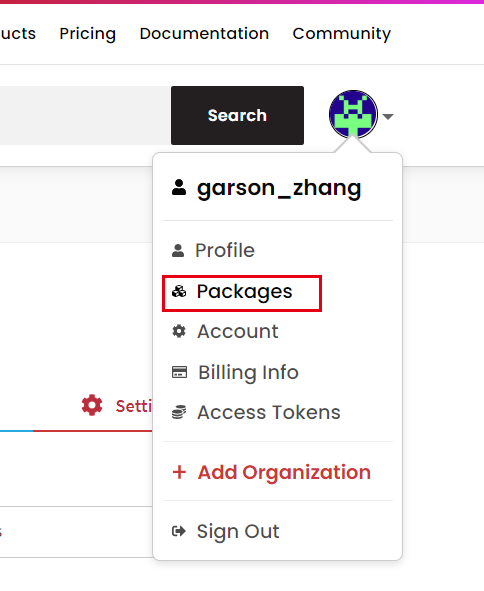
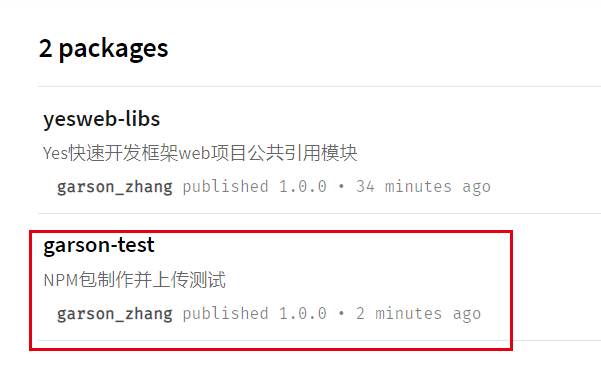
在npm官网查看已经发布的NPM包
可以看到刚刚制作的 garson-test 包已经上传
5. 引用并测试NPM包
测试项目为VUE项目
安装vue-cli,如果已经安装可跳过
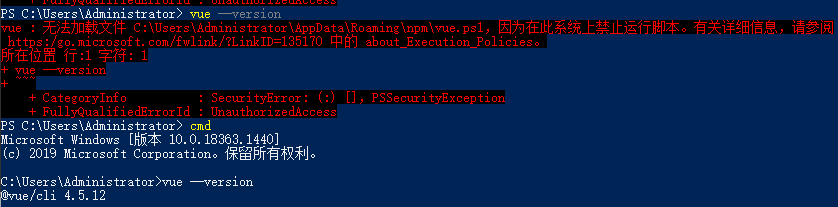
npm install -g @vue/cli如果出现错误
vue : 无法加载文件 C:\Users\Administrator\AppData\Roaming\npm\vue.ps1,因为在此系统上禁止运行脚本。有关详细信息,请参阅
https:/go.microsoft.com/fwlink/?LinkID=135170 中的 about_Execution_Policies。
所在位置 行:1 字符: 1
+ vue --version
+ ~~~
+ CategoryInfo : SecurityError: (:) [],PSSecurityException
+ FullyQualifiedErrorId : UnauthorizedAccess

采用cmd窗口运行 就能获取了
确保 vue-cli 安装成功后
运行 vue create test 创建项目
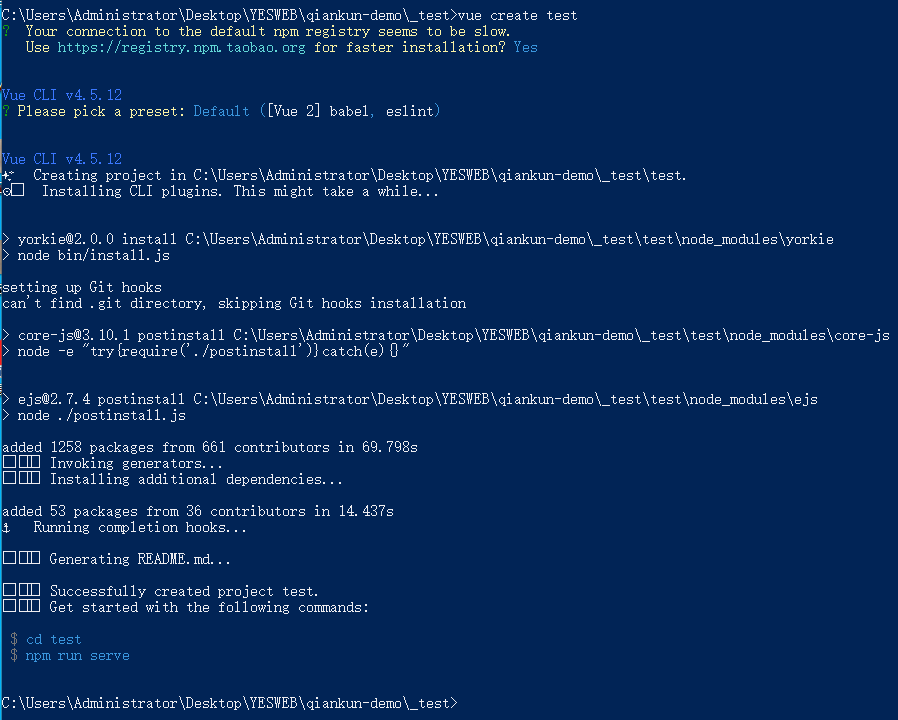
项目创建完成后,运行 cnpm install

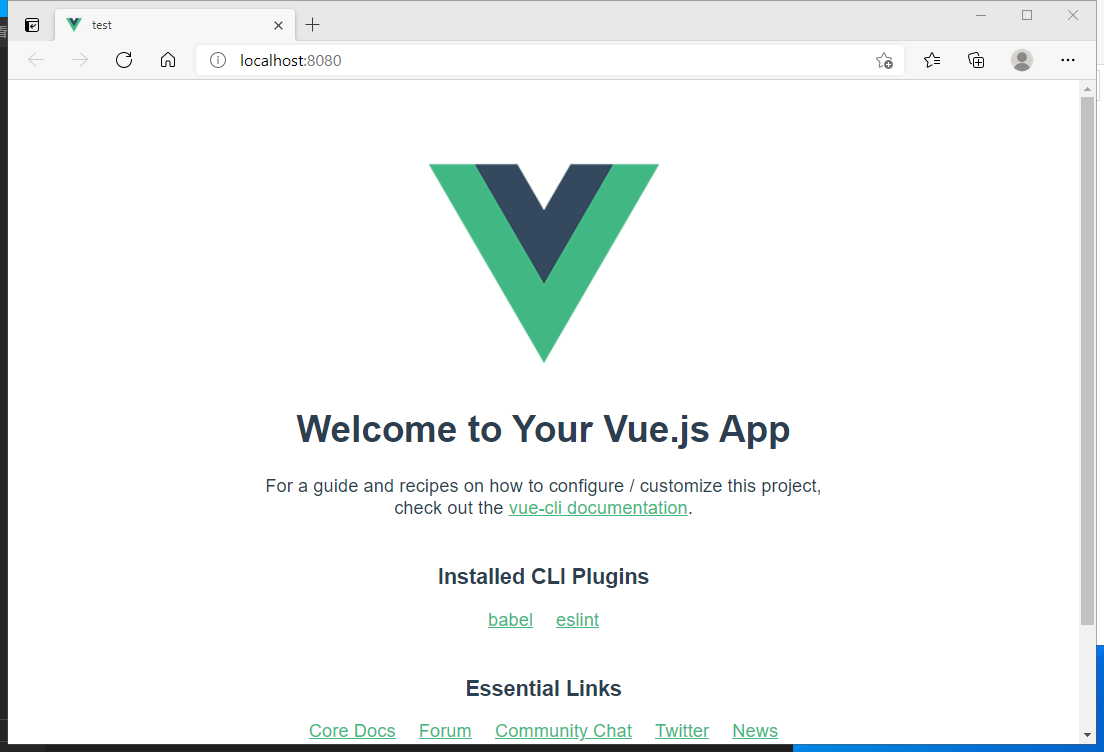
运行项目: npm run serve
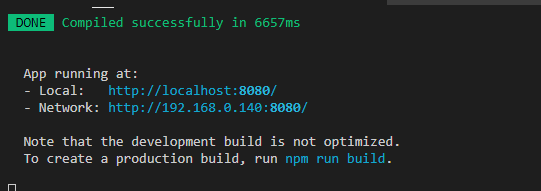
访问如图:
添加 NPM 包
cnpm install -S garson-test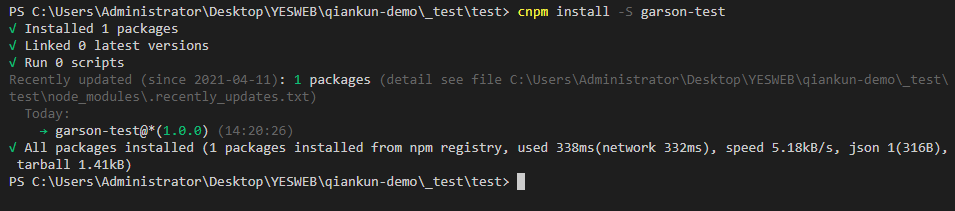
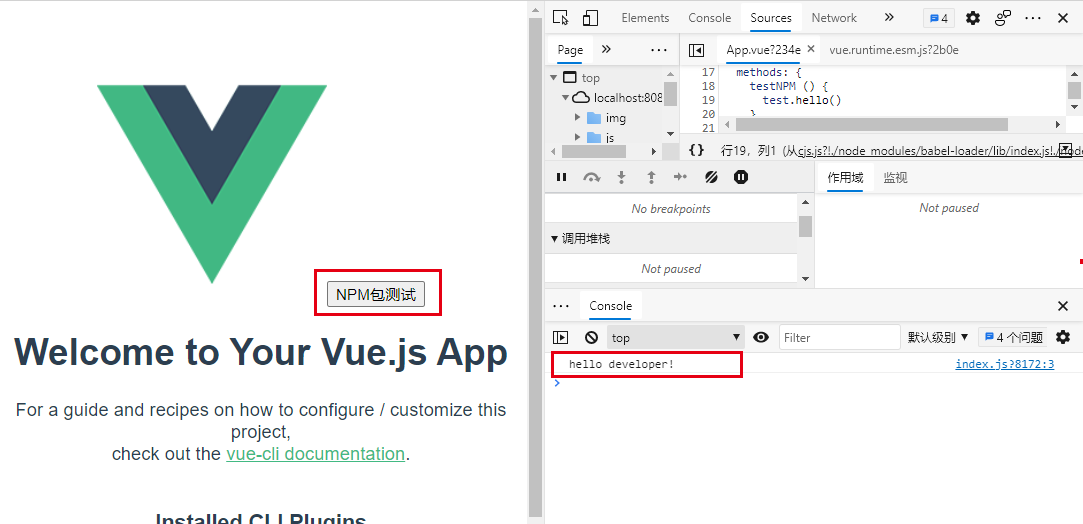
添加个按钮,并调用test.hello 方法:
import { test } from 'garson-test'methods: {
testNPM () {
test.hello()
}
},
版权声明:本文为YES开发框架网发布内容,转载请附上原文出处连接
post YES开发框架