Nginx部署
一、下载
下载nssm
nssm.exe下载地址:https://nssm.cc/download
下载nginx
nginx下载地址:https://nginx.org/en/download.html
二、nginx安装服务
nssm.exe复制到nginx目录
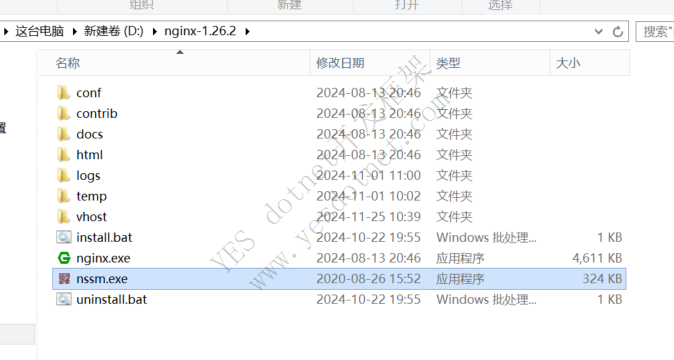
安装服务:install.bat
PowerShell 全选
cd /d %~dp0
set serviceName="nginx"
set exePath="nginx.exe"
nssm install %serviceName% %~dp0\%exePath%
nssm start %serviceName%
pause卸载服务:uninstall.bat
PowerShell 全选
cd /d %~dp0
set serviceName="nginx"
nssm stop %serviceName%
nssm remove %serviceName% confirm
pause三、nginx配置
修改 nginx**/conf/nginx.conf配置文件,内容如下:
Markup 全选
worker_processes  1;
events {
    worker_connections  1024;
}
http {
	server_names_hash_bucket_size 128;
	include    mime.types;
	default_type application/octet-stream;
	sendfile    on;
	keepalive_timeout 65;
	map $http_upgrade $connection_upgrade {
	   default upgrade;
	   '' close;
	}
	include ../vhost/*.conf;
}这样可以按照站点来区分不同的配置文件
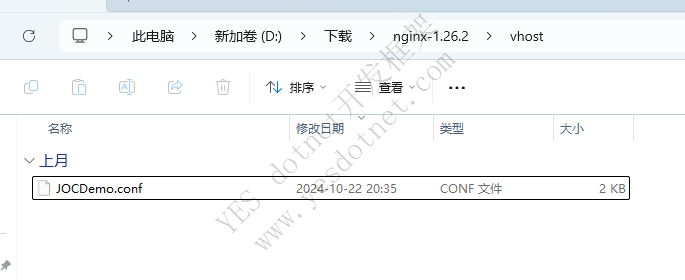
nginx目录中新建vhost目录,新建JOCDemo.conf。作为配置文件,内容如下:
Markup 全选
upstream jocDemoAPI{
server 127.0.0.1:5006 weight=10;
server 127.0.0.1:5008 weight=10;
}
server {
listen 9999;
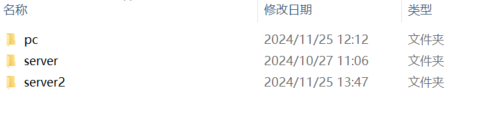
root D:\\webs\\tceDemo\\pc;
index index.html;
location / {
try_files $uri $uri/ /index.html;
}
gzip on;
gzip_buffers 32 4K;
gzip_comp_level 6;
gzip_min_length 100;
gzip_proxied any;
gzip_types application/json text/plain text/xml text/css;
gzip_vary on;
gzip_http_version 1.0;
gzip_disable "MSIE [1-6]\.(?!.*SV1)";
#gzip_min_length 1k;
#gzip_comp_level 4;
#gzip_proxied any;
#gzip_types text/plain text/xml text/css;
#gzip_vary on;
#gzip_http_version 1.0;
#gzip_disable "MSIE [1-6]\.(?!.*SV1)";
# 设置上传文件的大小
client_max_body_size 100m;
# 后端服务
location /server/ {
proxy_read_timeout 2400; # 秒 20分钟 请求超时
proxy_pass http://jocDemoAPI/;
# 添加头部信息
proxy_set_header Host $http_host;
proxy_set_header X-Real-IP $remote_addr;
proxy_set_header X-Forwarded-For $proxy_add_x_forwarded_for;
proxy_set_header X-Forwarded-Proto $scheme;
proxy_set_header X-NginX-Proxy true;
# This is necessary to pass the correct IP to be hashed
real_ip_header X-Real-IP;
proxy_connect_timeout 300;
}
}API支持负载均衡
四、API服务部署
nssm.exe复制到API目录中,用以安装服务
↓↓↓↓↓↓↓↓↓ 批处理脚本 ↓↓↓↓↓↓↓↓↓
4.1 公共配置 configService.bat
配置服务名称,以及启动文件
PowerShell 全选
set serviceName="JOCDemo"
set exePath="JOCAPI.Start.exe"4.2 安装服务脚本 installService.bat
PowerShell 全选
cd /d %~dp0
call configService.bat
nssm install %serviceName% %~dp0\%exePath%
nssm start %serviceName%
pause4.3 卸载服务脚本 uninstallService.bat
PowerShell 全选
cd /d %~dp0
call configService.bat
nssm stop %serviceName%
nssm remove %serviceName% confirm
pause4.4 启动服务脚本 startService.bat
PowerShell 全选
cd /d %~dp0
call configService.bat
nssm start %serviceName%
pause4.5 停止服务脚本 stopService.bat
PowerShell 全选
cd /d %~dp0
call configService.bat
nssm stop %serviceName%
pause4.6 更新脚本 update.bat
通过共享目录更新,更新前先停止服务,更新完成后启动服务
PowerShell 全选
@echo off
setlocal enabledelayedexpansion
call configServices.bat
echo stop service %serviceName%
nssm stop %serviceName%
:: 源目录(需要手动指定)
set "SOURCE_DIR=C:\Users\Administrator\Desktop\tce_api_update"
:: 获取当前目录
set TARGET_DIR=%cd%
:: 检查源目录是否存在
if not exist "%SOURCE_DIR%" (
	echo dir is not exists:%SOURCE_DIR%
	pause
	exit /b
)
:: 遍历源目录中的所有文件
for /r "%SOURCE_DIR%" %%f in (*) do (
    :: 提取相对路径
    set "RELATIVE_PATH=%%~dpf"
    set "RELATIVE_PATH=!RELATIVE_PATH:%SOURCE_DIR%=!"
    set "RELATIVE_PATH=!RELATIVE_PATH:\=\\!"

    :: 生成目标完整路径
    set "DEST_PATH=%TARGET_DIR%!RELATIVE_PATH!"

    :: 创建目标子目录(如果不存在)
    if not exist "!DEST_PATH!" mkdir "!DEST_PATH!"

    :: 复制文件到目标目录
    echo copy %%f to !DEST_PATH!
    copy /y "%%f" "!DEST_PATH!"
)
echo start service %serviceName%
nssm start %serviceName%
pause
版权声明:本文为YES开发框架网发布内容,转载请附上原文出处连接
yesweb 张国生